

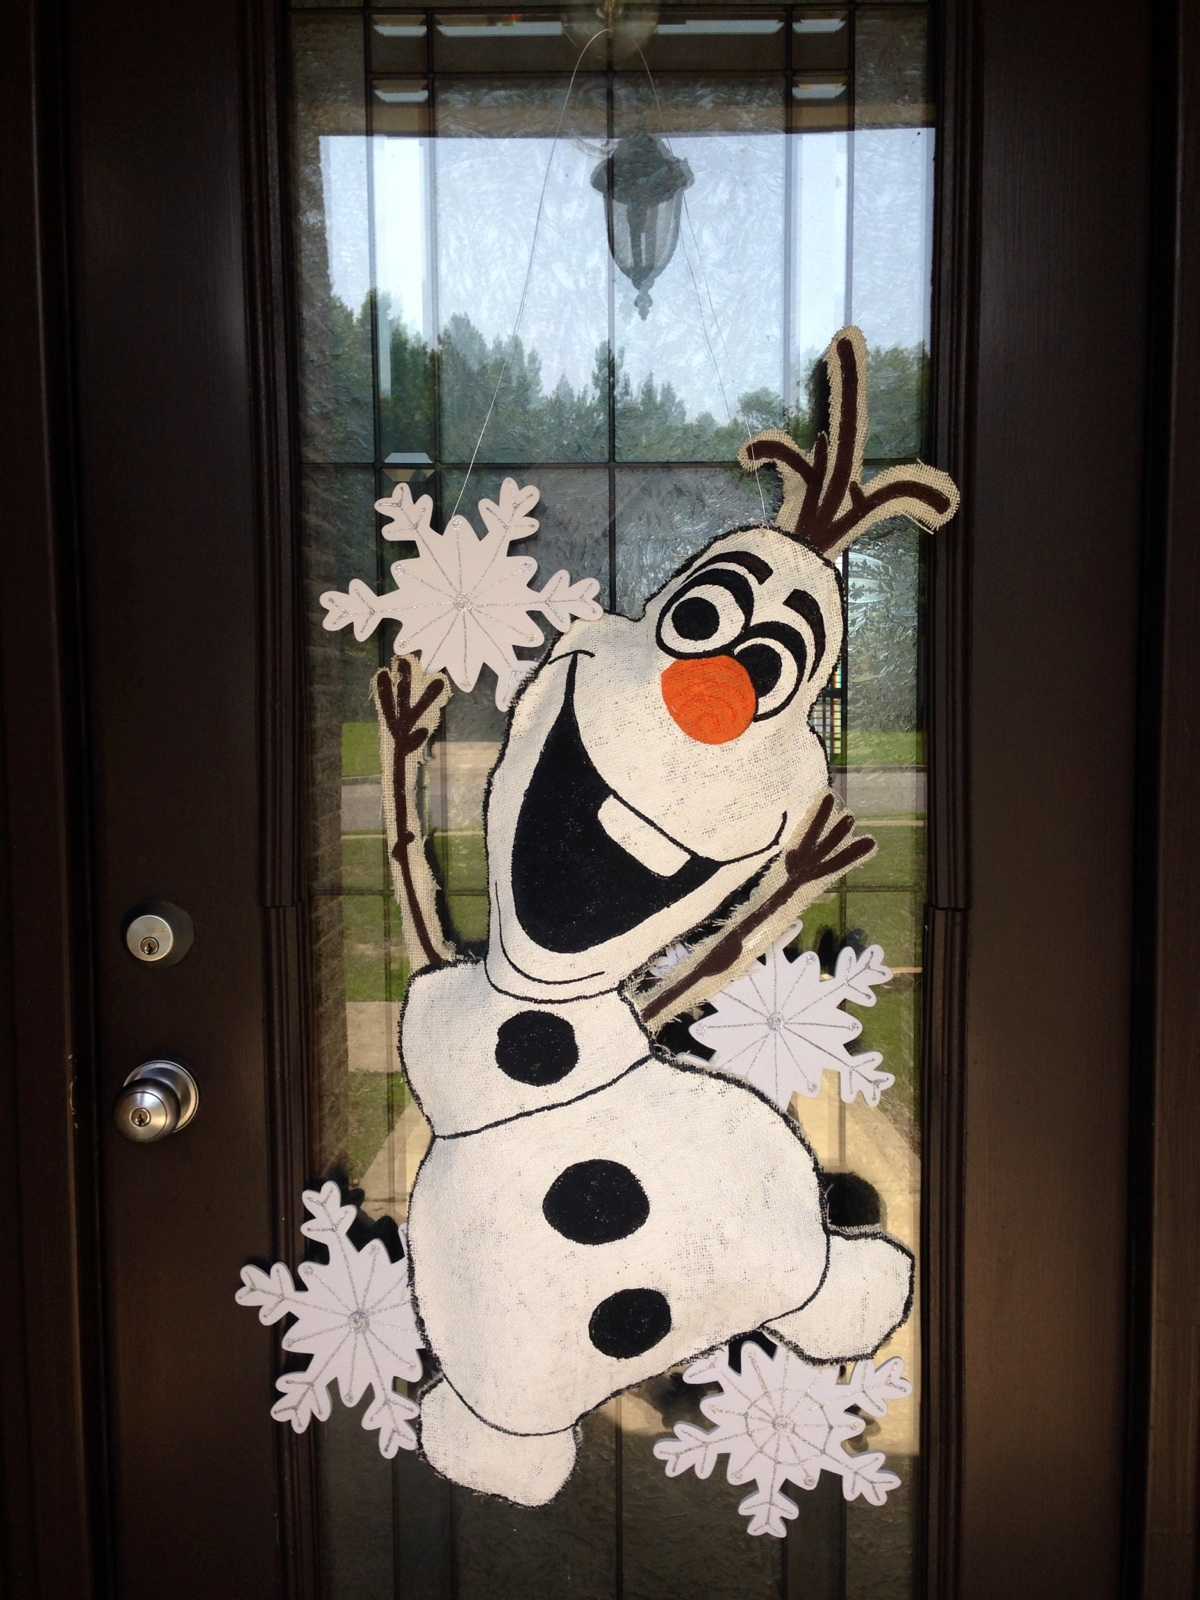
1. Olaf Door Hanger: This DIY is somewhat time-consuming.
- Materials:
- large drawing paper
- pencil
- hot glue gun
- 1 yard of burlap
- white paint (2 or more large bottles)
- black paint
- orange paint
- black, orange, and silver puffy paint (optional)
- 2 small bundles of quilt stuffing
- foam snowflakes
- a sponge paint brush
- pins
- Steps:
- find a picture of Olaf that you like
- sketch him onto large drawing paper
- cut out along the out side
- pin Olaf to burlap
- cut along the edges
- repeat on another piece of burlap
- pain both pieces of burlap with white paint and sponge brush (make sure it’s all covered)
- let it sit and dry over night
- draw on his face
- paint Olaf’s face
- use puffy paint to accent Olaf’s nose, eyes, and buttons by outlining them in the same color
- use silver puffy paint to draw designs onto snowflakes
- pin pieces of Olaf together
- gently stuff Olaf with quilt stuffing
- hot glue the edges as you go
- glue snowflakes around Olaf
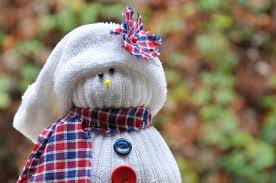
2. Sock Snowman
- Materials:
- white socks
- rubber bands
- scissors
- ball end pins (black and yellow)
- fabric (for scarf)
- buttons (optional: to be sewed on)
- dried beans (or small beads)
- Steps:
- cut off the foot half of sock
- turn the sock inside-out
- tie the end of the sock
- fill bottom half of sock with dried beans (or beads)
- tie rubber band midway up the sock (top of dried beans or beads)
- fill top half of sock with dried beans or beads (should be relevantly smaller than bottom half)
- tie rubber band around around top of sock (top of dried beans or beads)
- put ball end pins in as eyes and nose (triangle shape)
- (optional) sew on buttons down the middle
- tie fabric around the “neck” as a scarf
- put the bottom half of sock (the part that you cut off at the beginning) on top as a hat
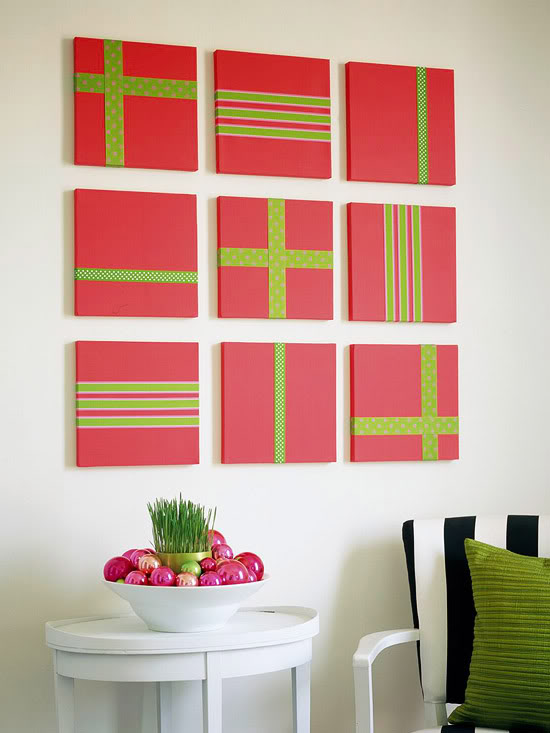
3. Picture Frame Present
- Materials:
- picture frame
- wrapping paper
- ribbon (optional)
- bow (optional)
- tape
- Steps:
- wrap picture frame like a present
- tie ribbon around it (optional)
- tape bow on (optional)
4. Water-less Snow Globes
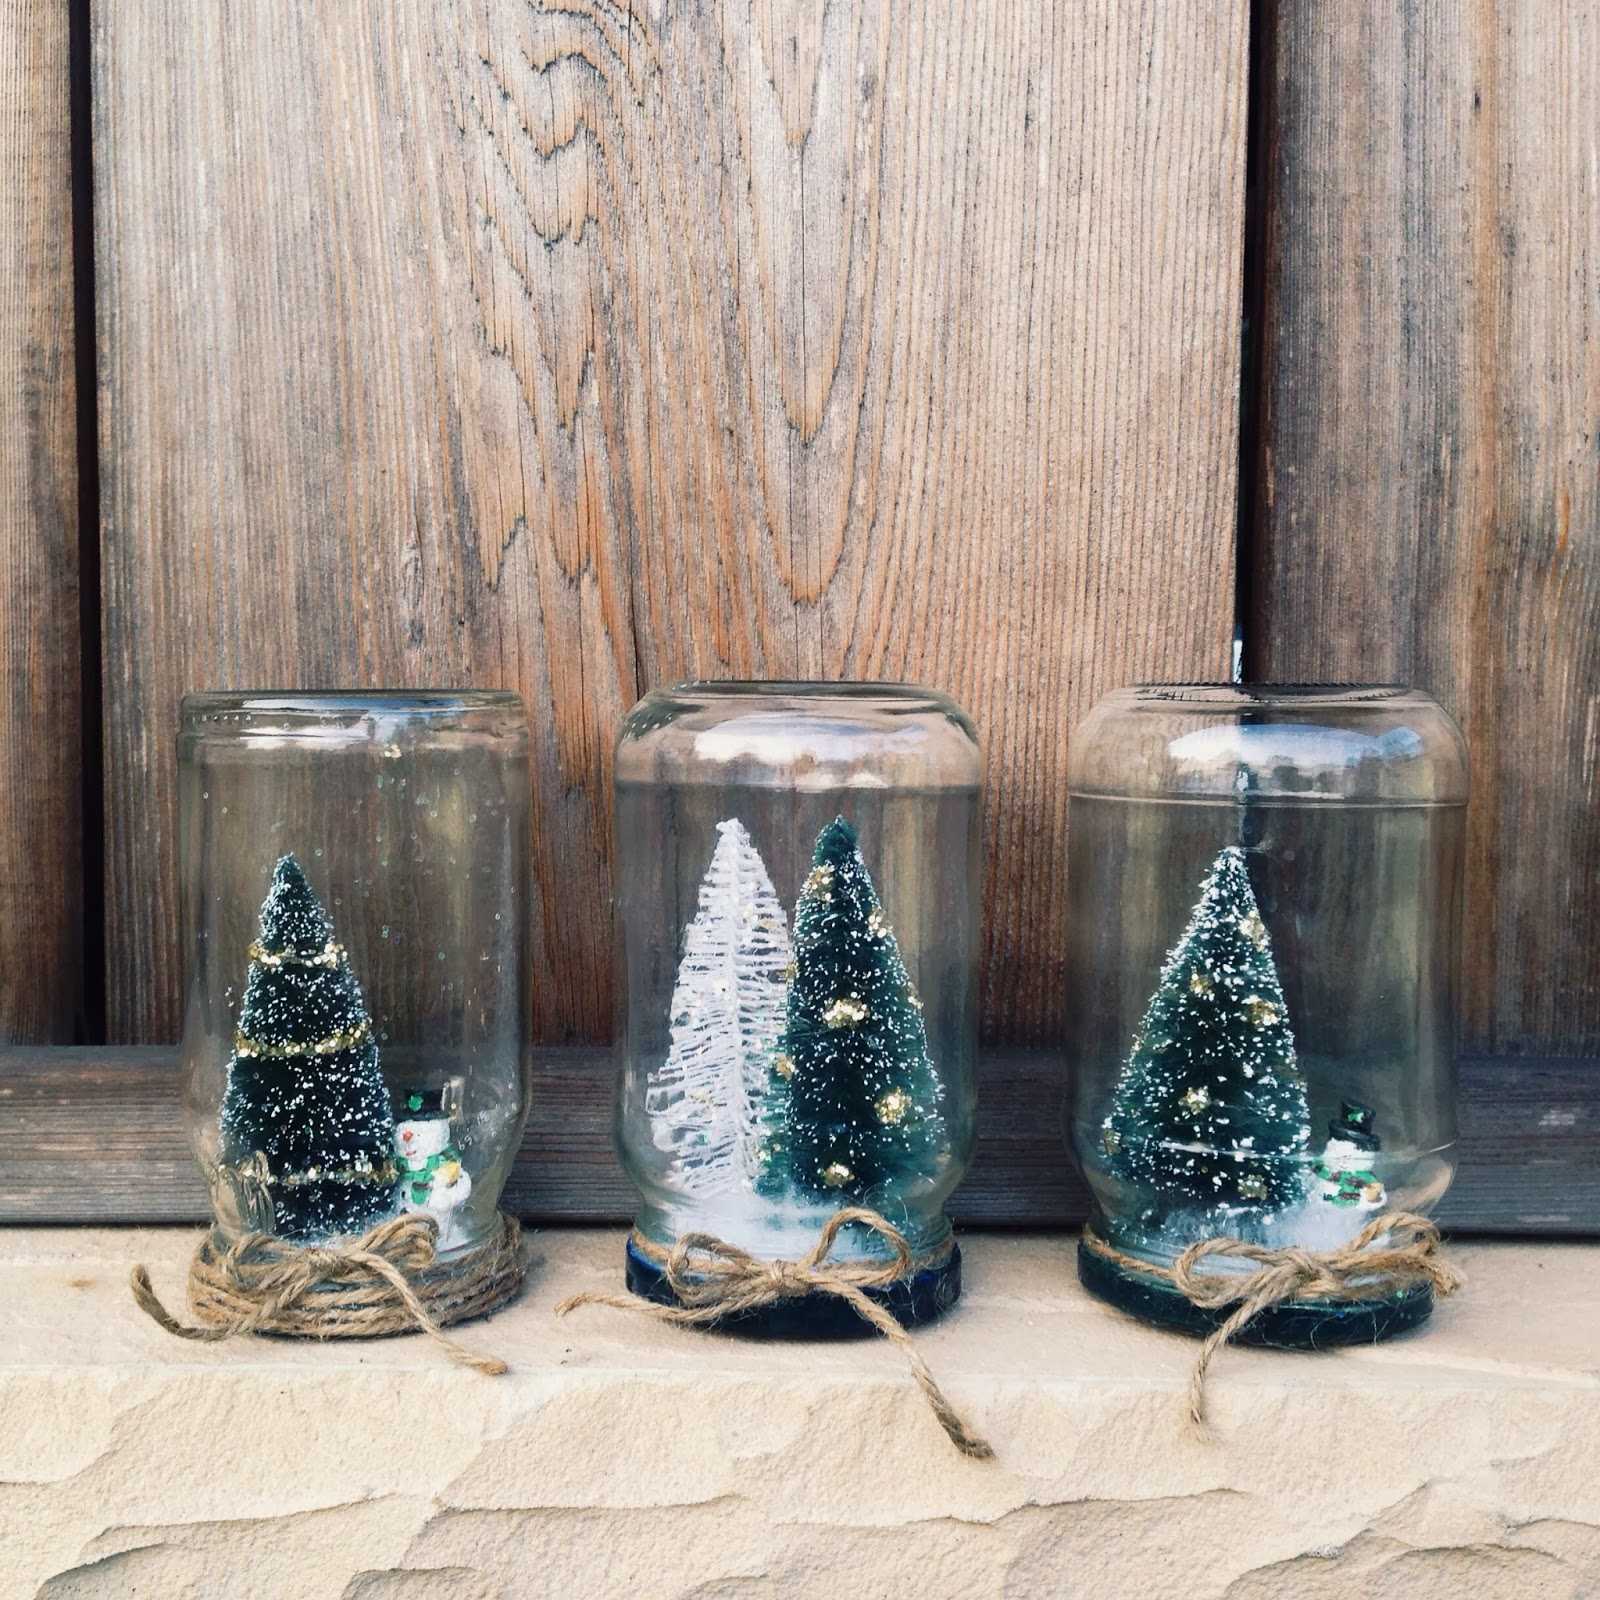
- Materials:
- glass jars
- artificial snow
- hot glue gun(and glue)
- assorted mini christmas trees and snowmen
- glitter
- spray adhesive
- white spray paint or krylon glitter blast (silver)
- Steps:
- remove lids and spray paint them (white or silver)
- spray trees and snowmen with adhesive then sprinkle with glitter
- hot glue trees and snowmen to lids
- fill jars with small amount of snow
- screw lids back on
5. Mason Jar Prism Light
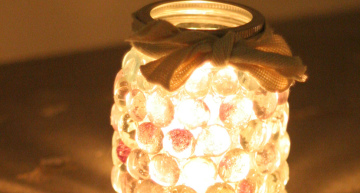
- Steps:
- pour glue onto paper plate
- brush glue on jar
- place glass stones in whatever pattern starting on top
- (optional) tie ribbon in bow around the lid
- place candle inside jar
- Materials:
- glue
- glass stones (christmas colored)
- mason jar
- paint brushes
- (optional) ribbon (silver or gold)
- tea light candle
6. Hot Glue Snowflake Ornament
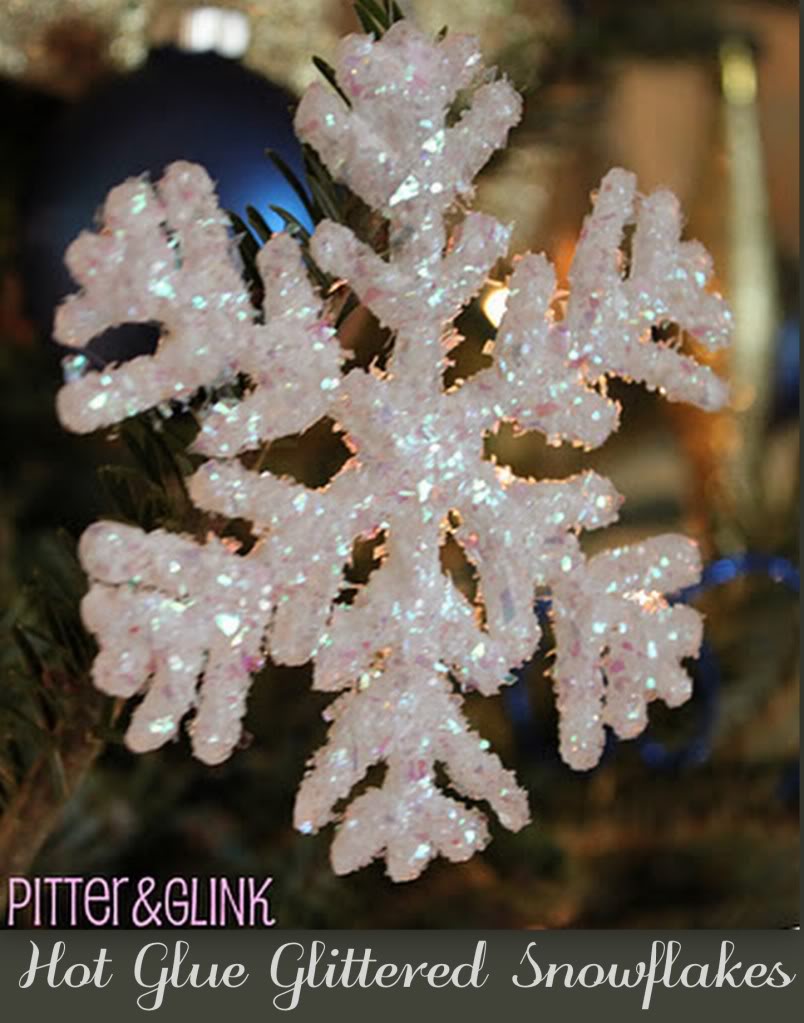
- Materials:
- glue sticks
- hot glue gun
- wax paper
- dish detergent
- ornament template
- glitter
- mod podge
- small paint brush
- string or wire
- Steps:
- print out a simple snowflake image
- put a sheet of wax paper over the stencil snowflake
- cover wax paper with dish detergent (mix with a little bit of water for easy spreading)
- trace image with hot glue
- wait for it to dry and peel it off the wax paper
- (optional) run under cold water to remove excess paper from the back
- cover ornament with a layer of Mod Podge (with paintbrush)
- cover with glitter
- hot glue a loop of string or wire to back of ornament
7. Snow Candles
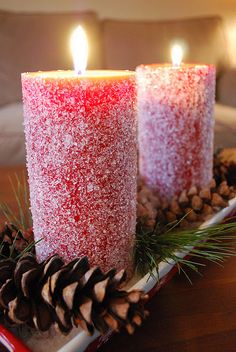
- Materials:
- epson salt
- Mod Podge
- foam brush
- pan or dish (to avoid mess)
- red candle
- Steps:
- apply Mod Podge with foam brush
- sprinkle with salt
8. Light Canvas
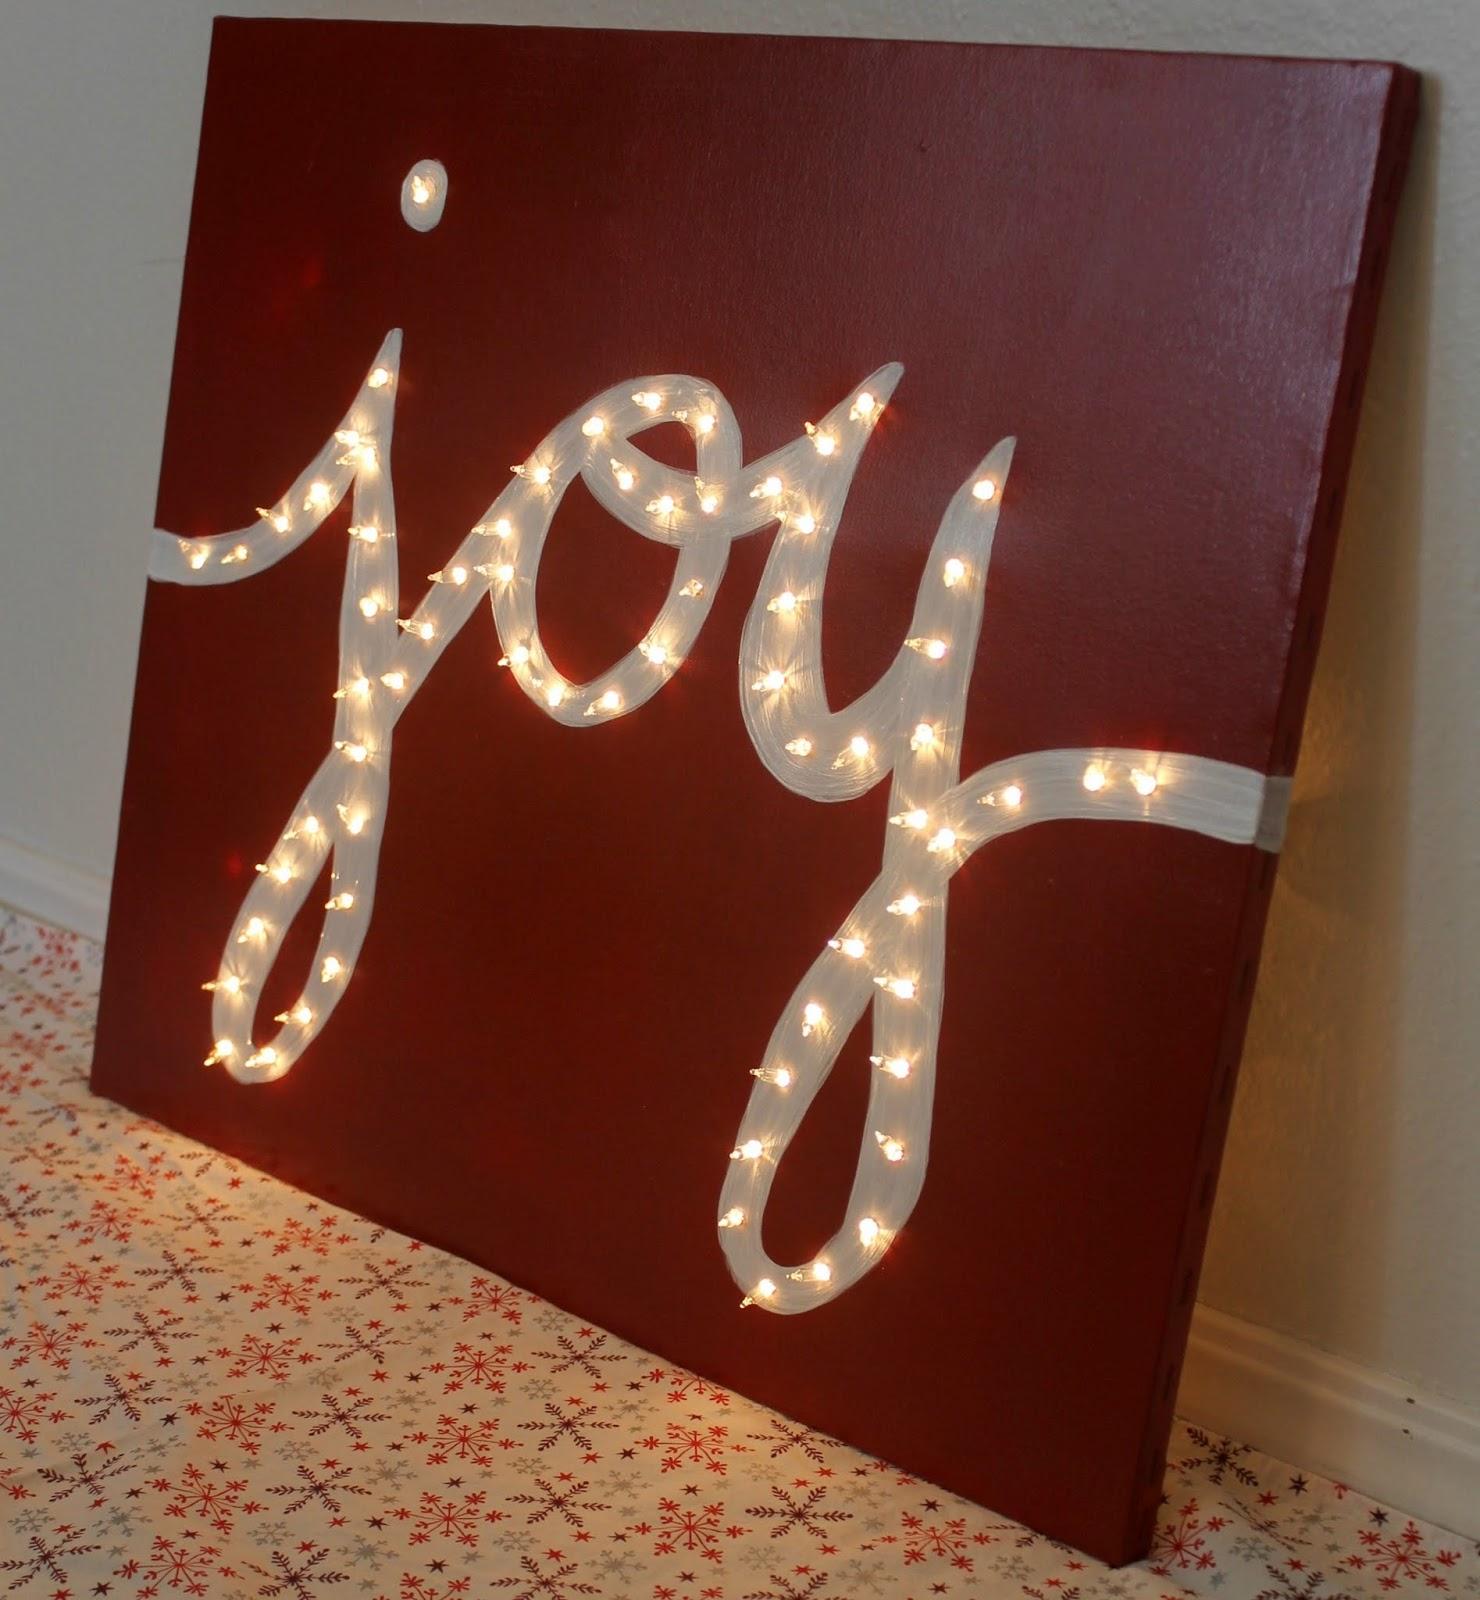
- Materials-
- canvas
- white chalk
- spray paint (color of choice)
- white paint
- silver glitter paint (optional)
- paint brush
- metal skewer
- christmas lights
- Steps
- paint canvas with spray paint
- mark with chalk on each side where you want the word to start/end
- use chalk to write out the word
- mix white paint with a bit of glitter paint
- paint over the word several times (adding width each time)
- use the metal skewer to poke holes at desired width apart for lights
- use the back end of paint brushes to poke through/ make holes wider
- put lights through holes from the back
9. Ornament Tree
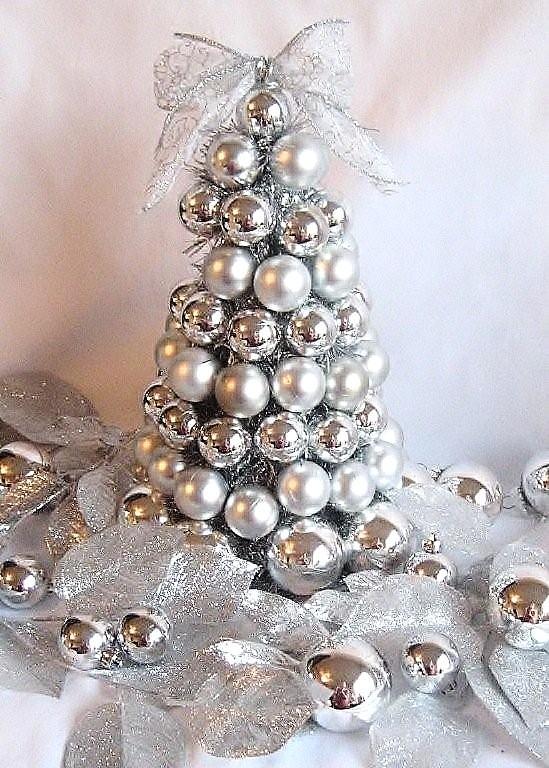
- Materials:
- medium sized styrofoam cone
- ornament balls
- garland
- hot glue gun
- Steps:
- take off all ornament tops
- push them into the side of the foam cone
- take them out (one by one) and hot glue them in
- repeat step 3 all the way around and up
- cut garland to fit in open spaces between ornament